Post by BeeAmaker on Mar 5, 2014 13:43:51 GMT -5
Well everyone has been hearing me talk about it so here it is.
For the most part this is done off the cuff so to speak as there isn't any real plans for building this dresser but I put together a basic blueprint you can download here if you want to look at it.
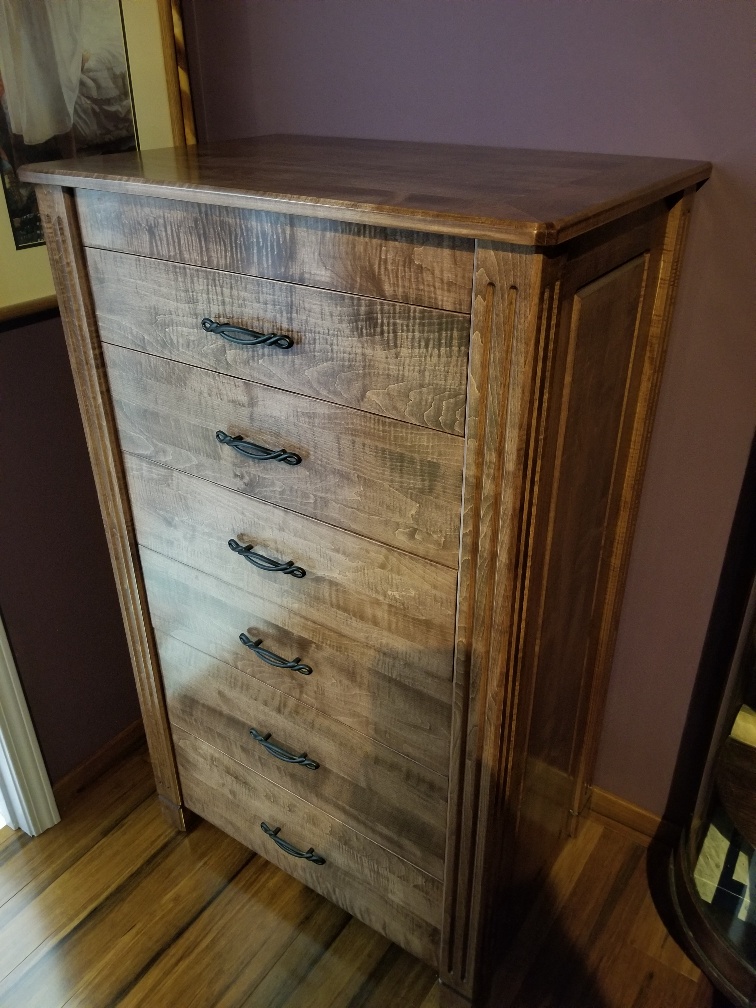
The wood used is Curly Maple, which is a hard wood and can create some very cool looking grain, in some of the pictures you can see a bit of the tiger stripping that the grain creates. (for some detailed images)
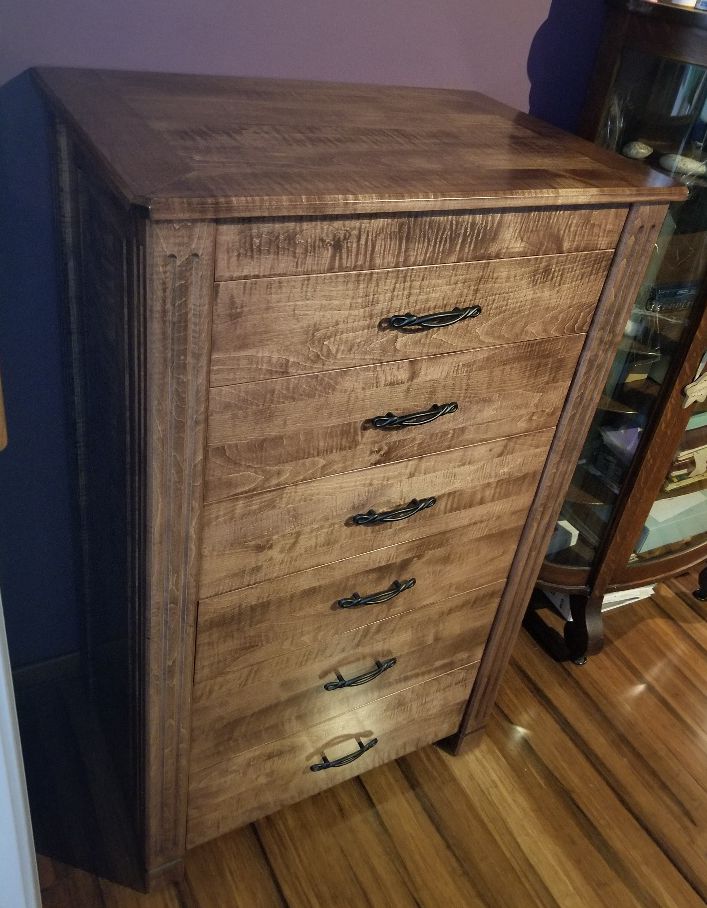
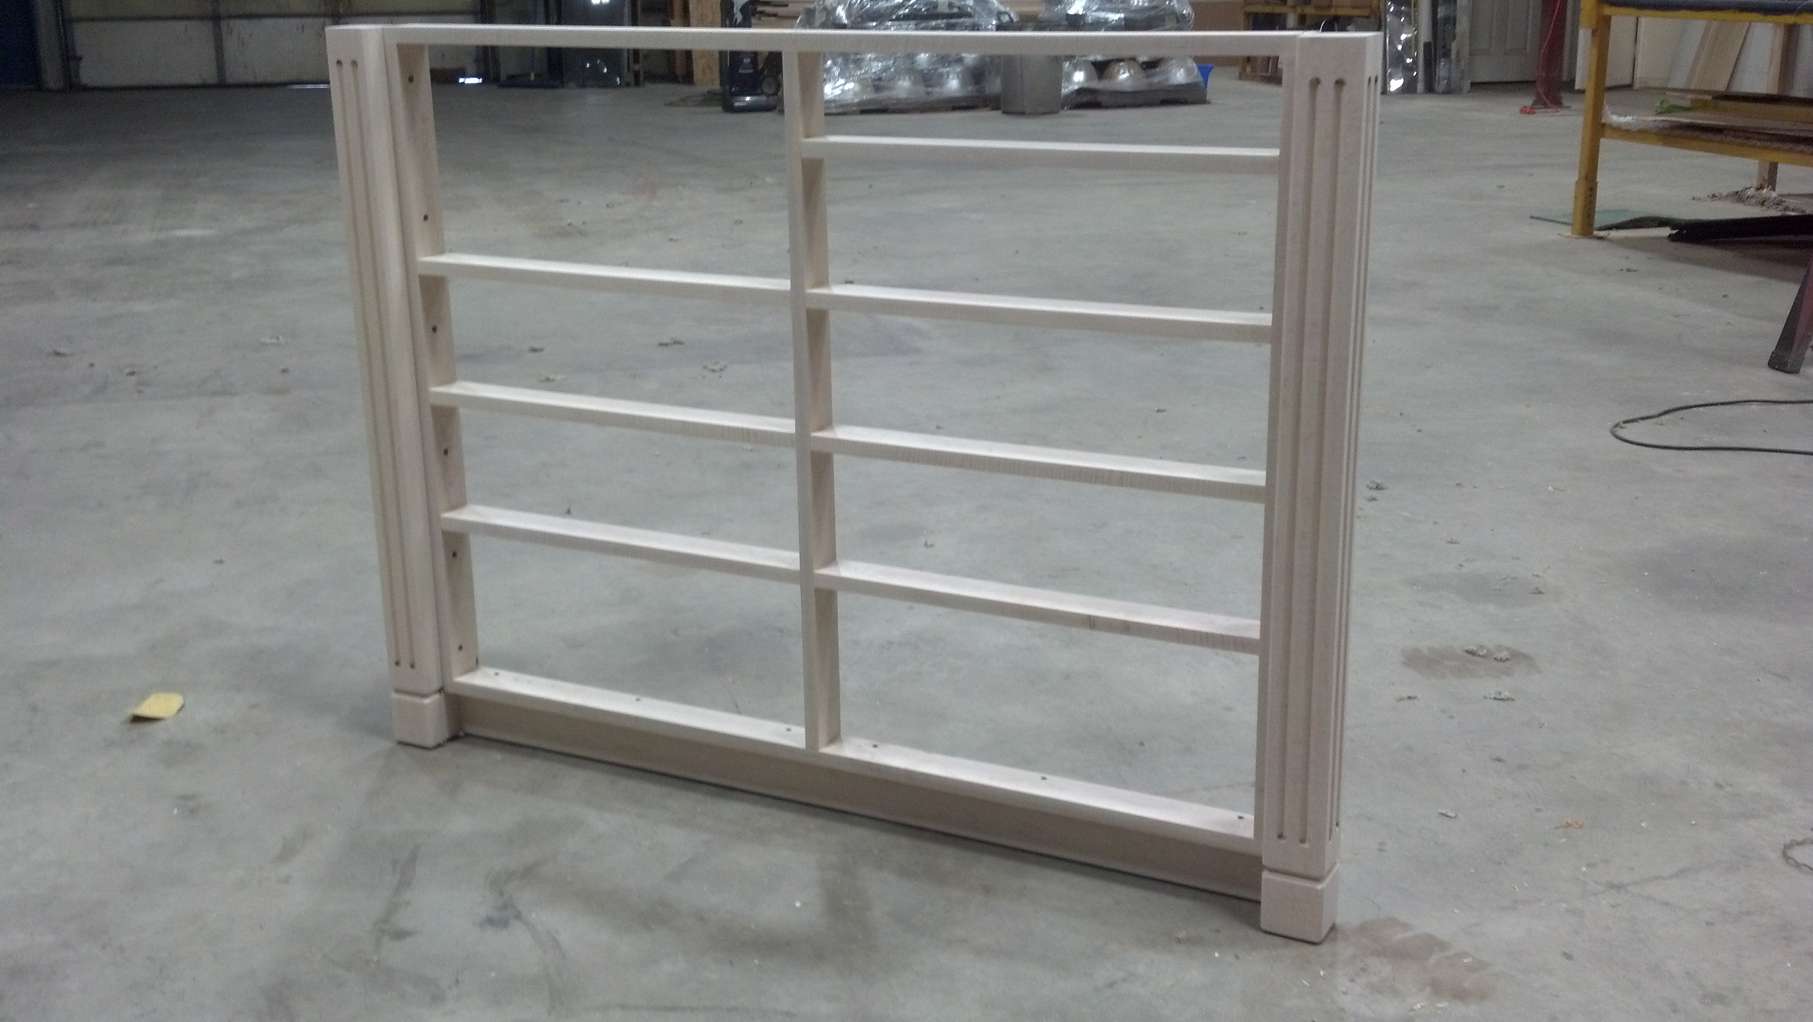
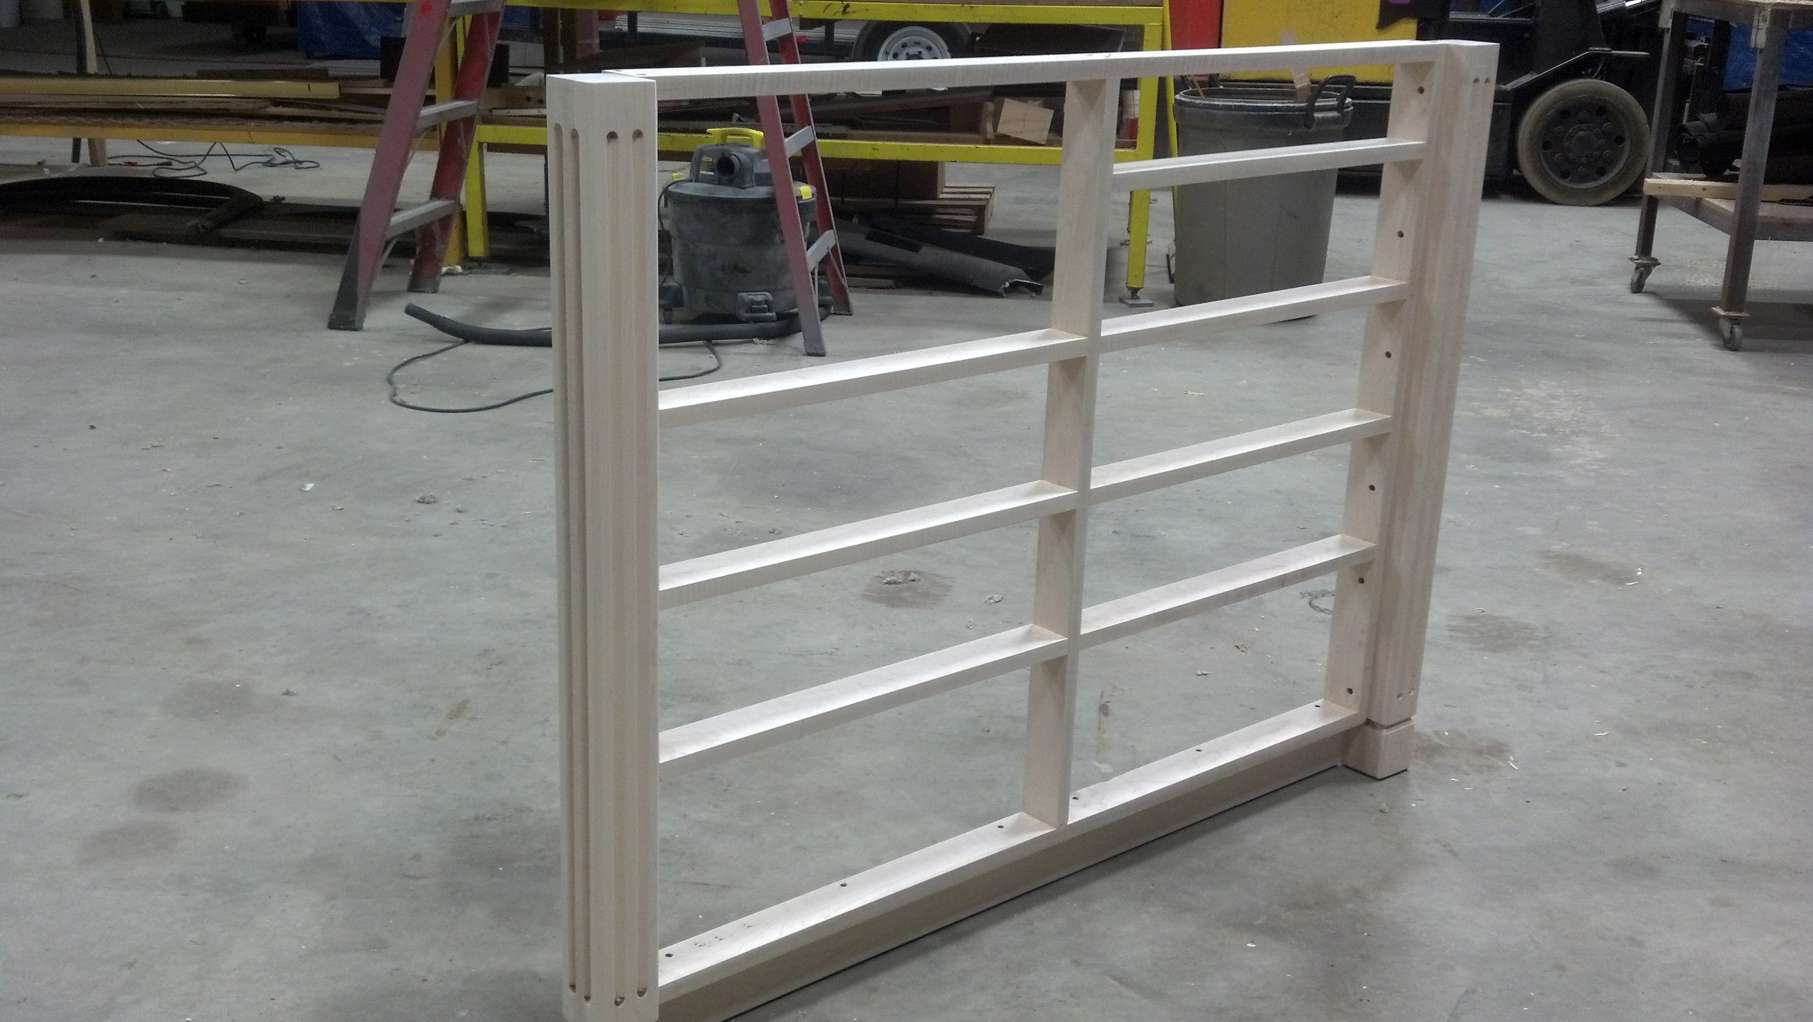
I wanted the two front corners of the dresser to look like columns and be the anker point for the dresser. so I laminated boards up to make a 2.75" square column I would later flut.
Then I built the face frame. This also makes it easy to include a front toe kick that can be hidden from the sides of the dresser.
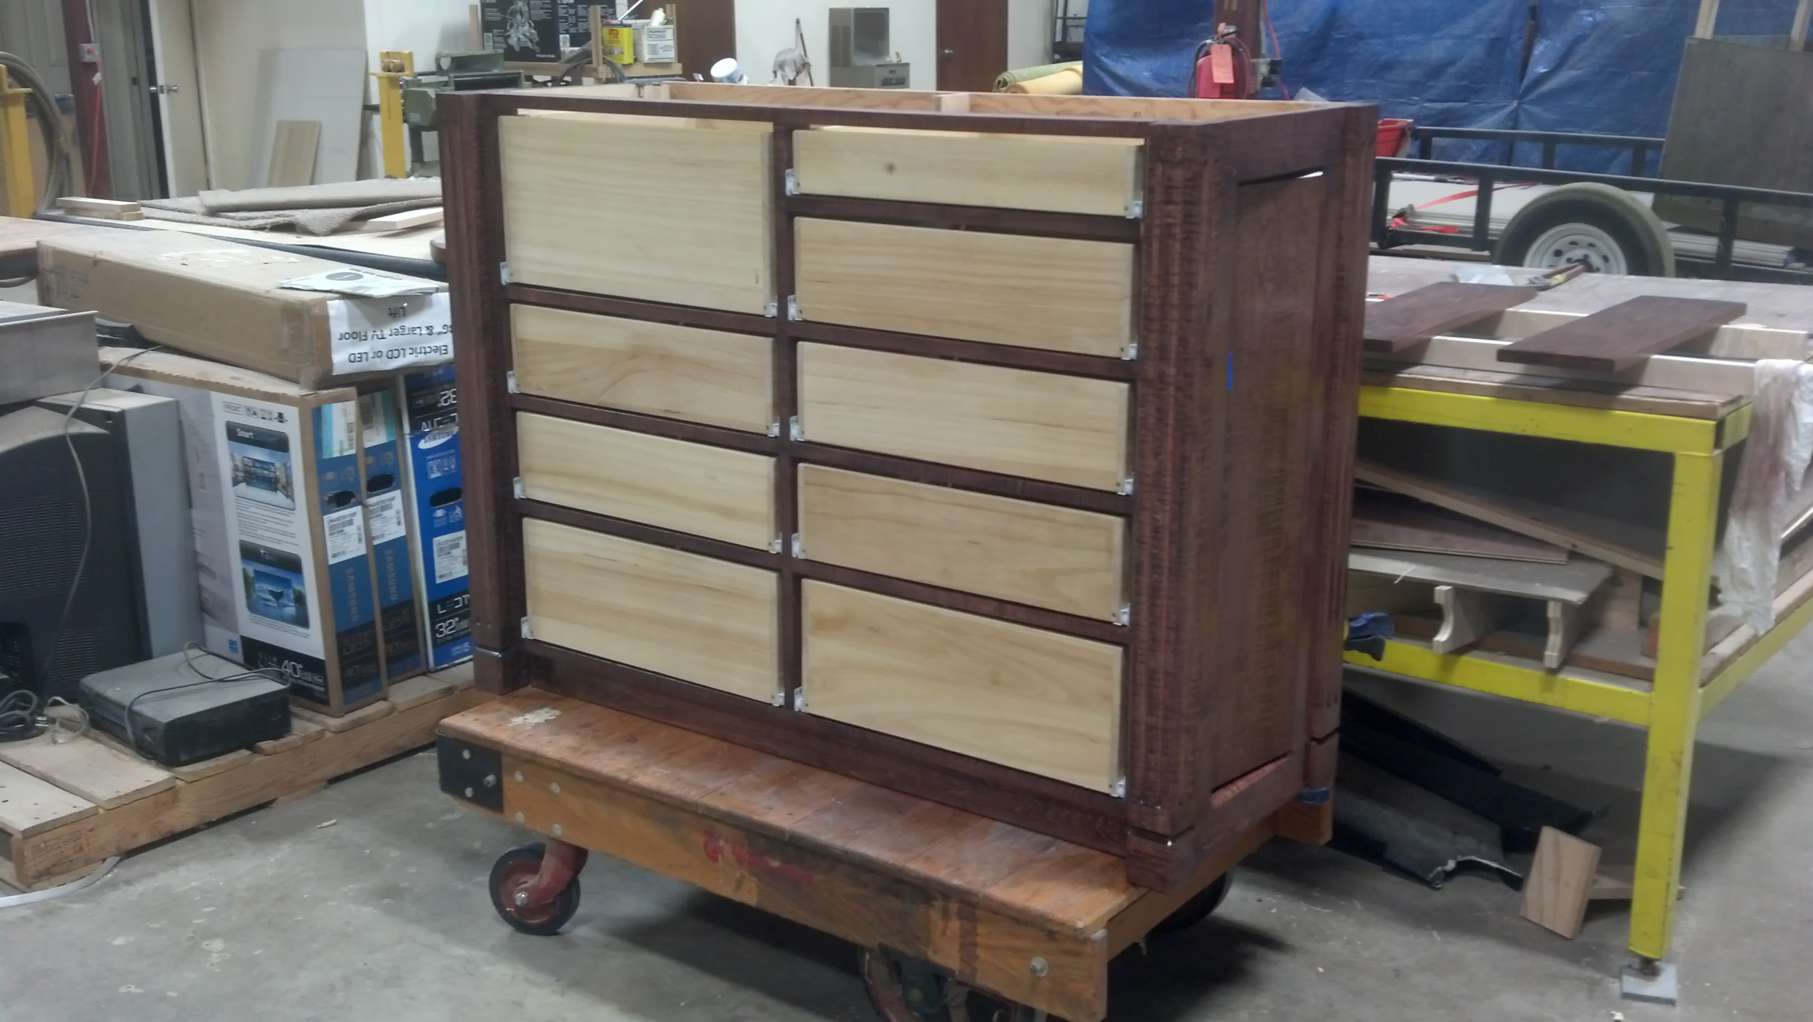
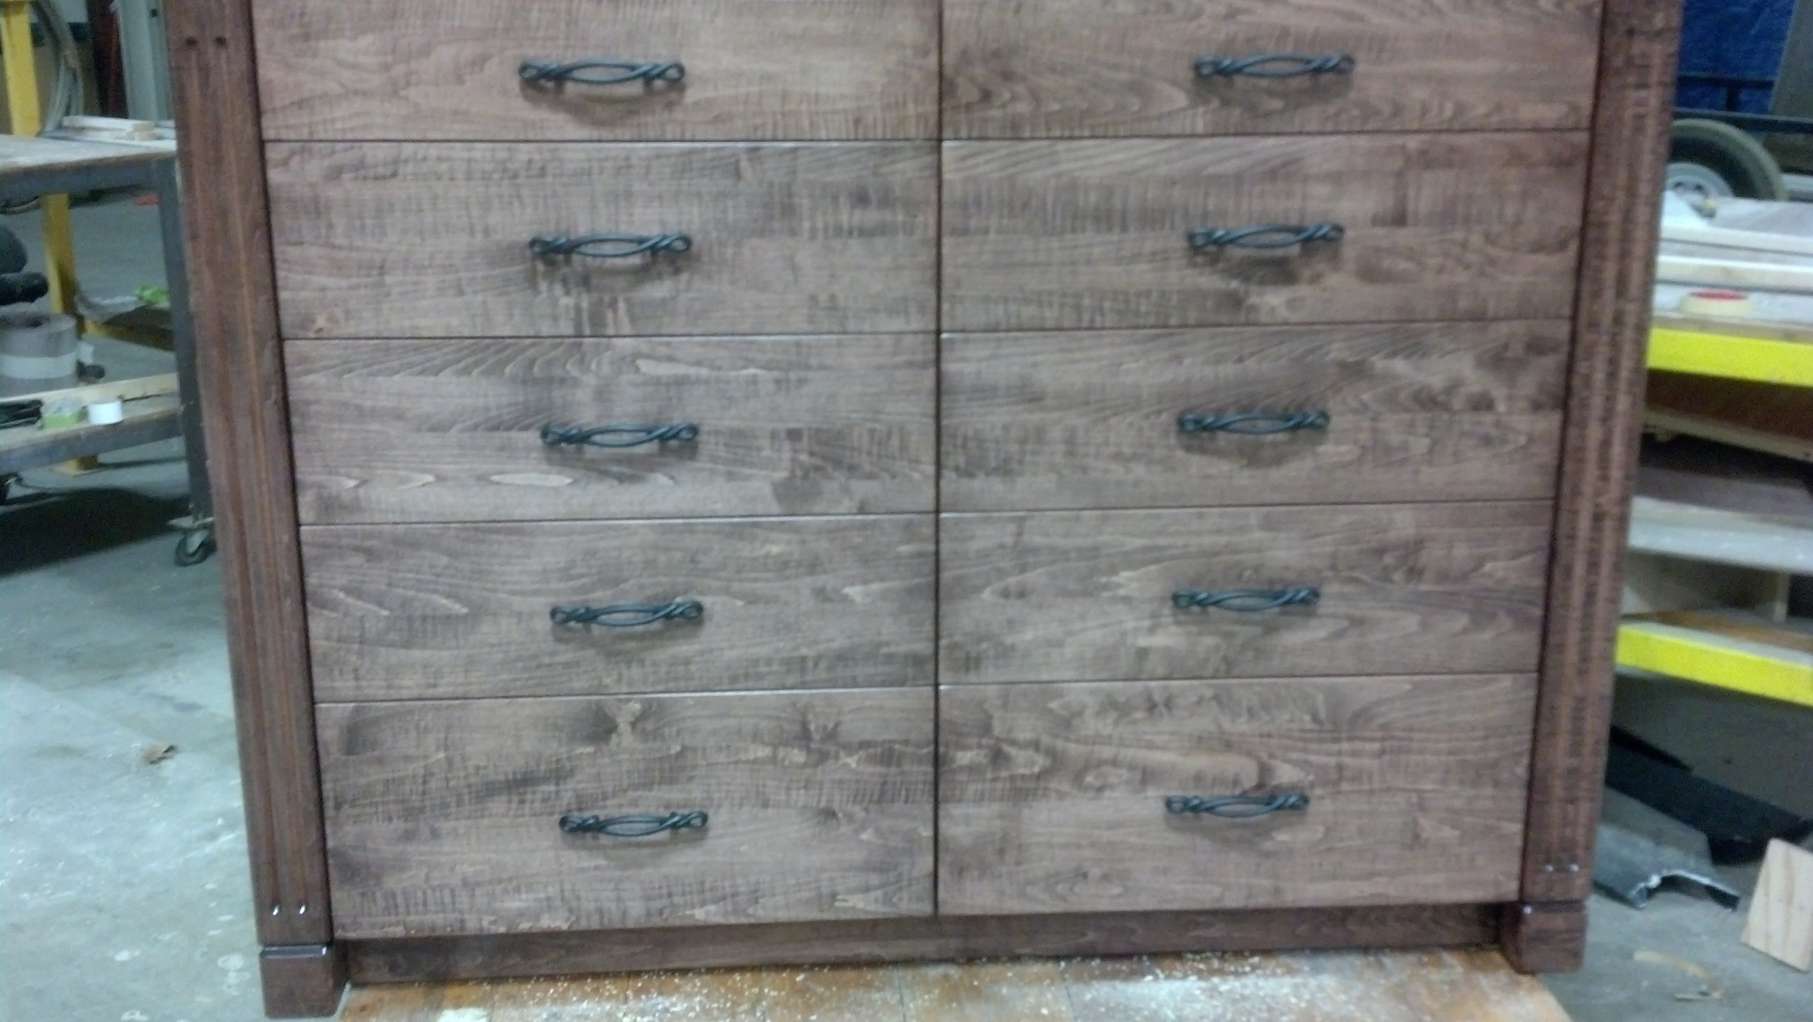
I laid the face frame out so it had large drawers at the bottom for big clothes like jeans, a small top drawer for "lacy" things and a large drawer for her bulky sweaters. The larger drawer at the top will have 2 drawer fronts attached so when the drawers are all closed, it looks as if there are two small top drawers, as you will see later in the pictures.
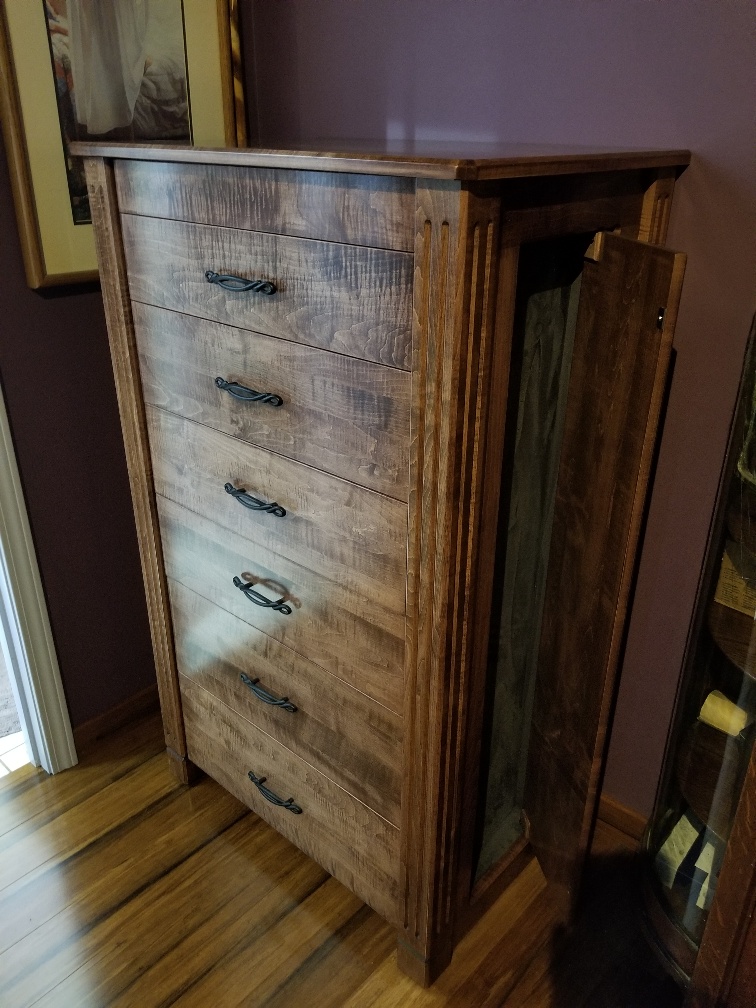
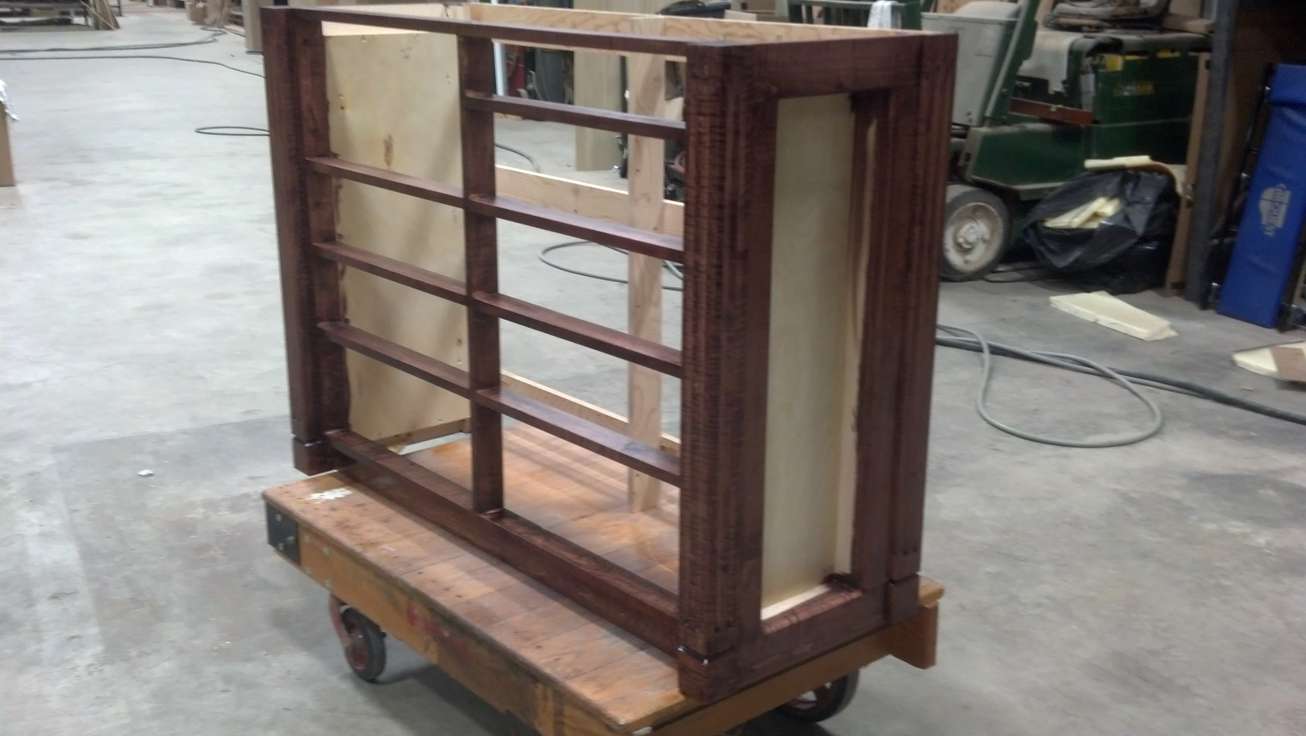
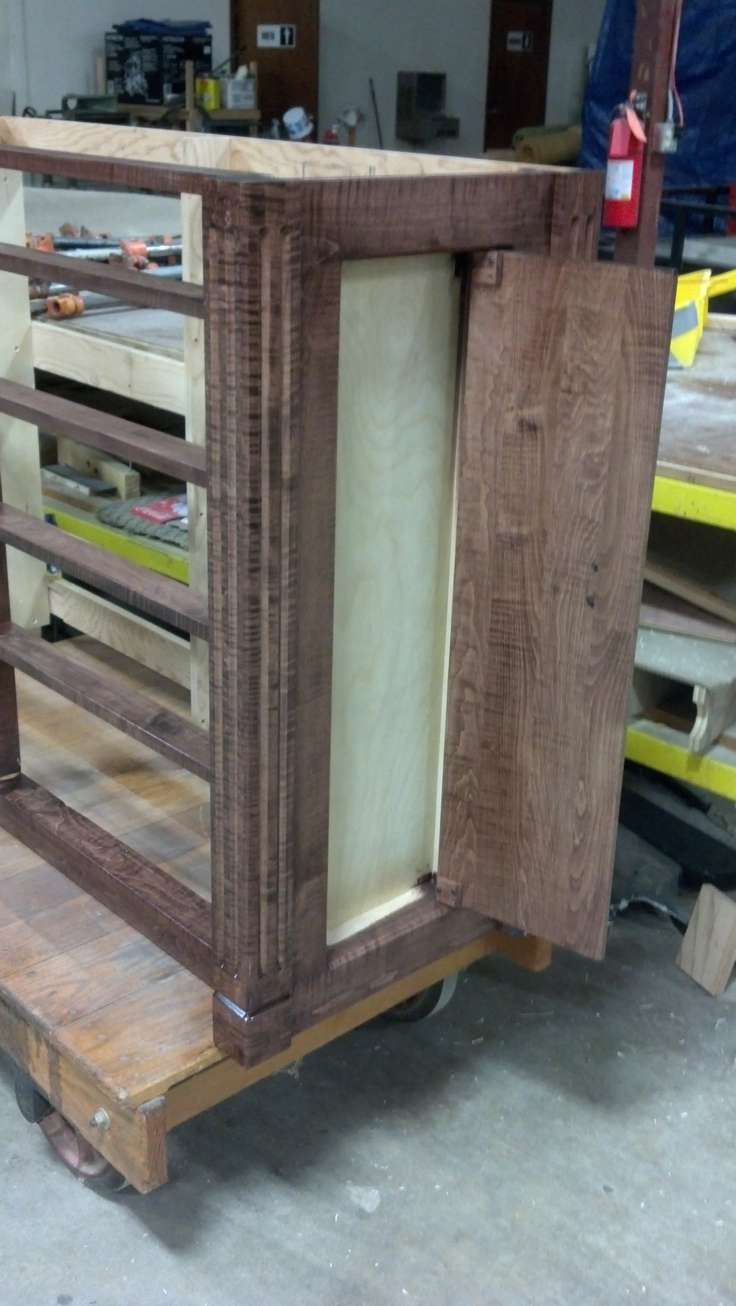
I decided to make use of the space this style creates between the dresser sides and the actual drawers. There is 1.5" of salvageable space so I created a cuby that my wife can use to hang jewelry like necklaces and other small accessories.
I will add some touch latches so the doors will spring open when pushed so there will be no visible indication that the sides even open. I forgot to take pictures at before this point, so the dresser is assembled and stained at this point.

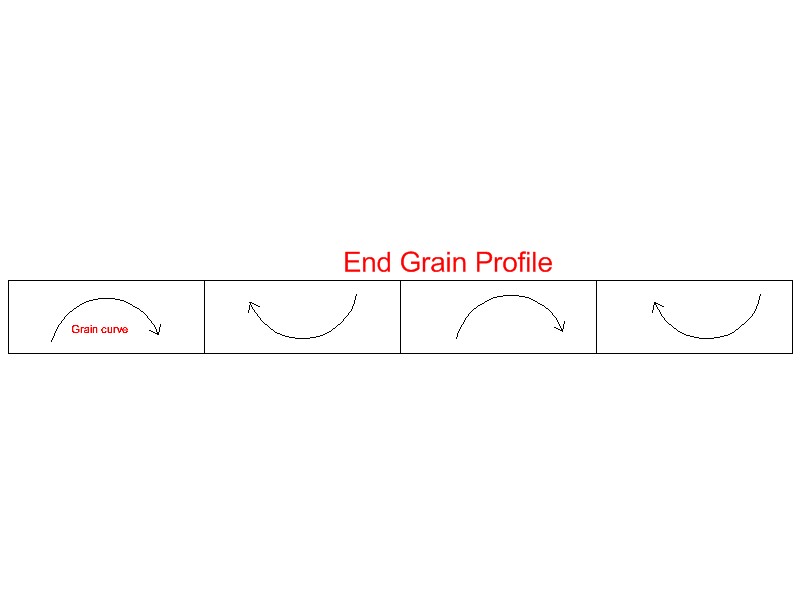
Next I built the drawer boxes and the drawer and side door fronts. These were done by first ripping the wood to 2" - 4" Then flipping every other board so the end grain is opposite. This helps keep the planks flat and prevents cupping. The boards are then biscuit cut and edge joined, glued and clamped. This takes some planing because you don't want a biscuit in a place that will show when the boards are cut down to size.
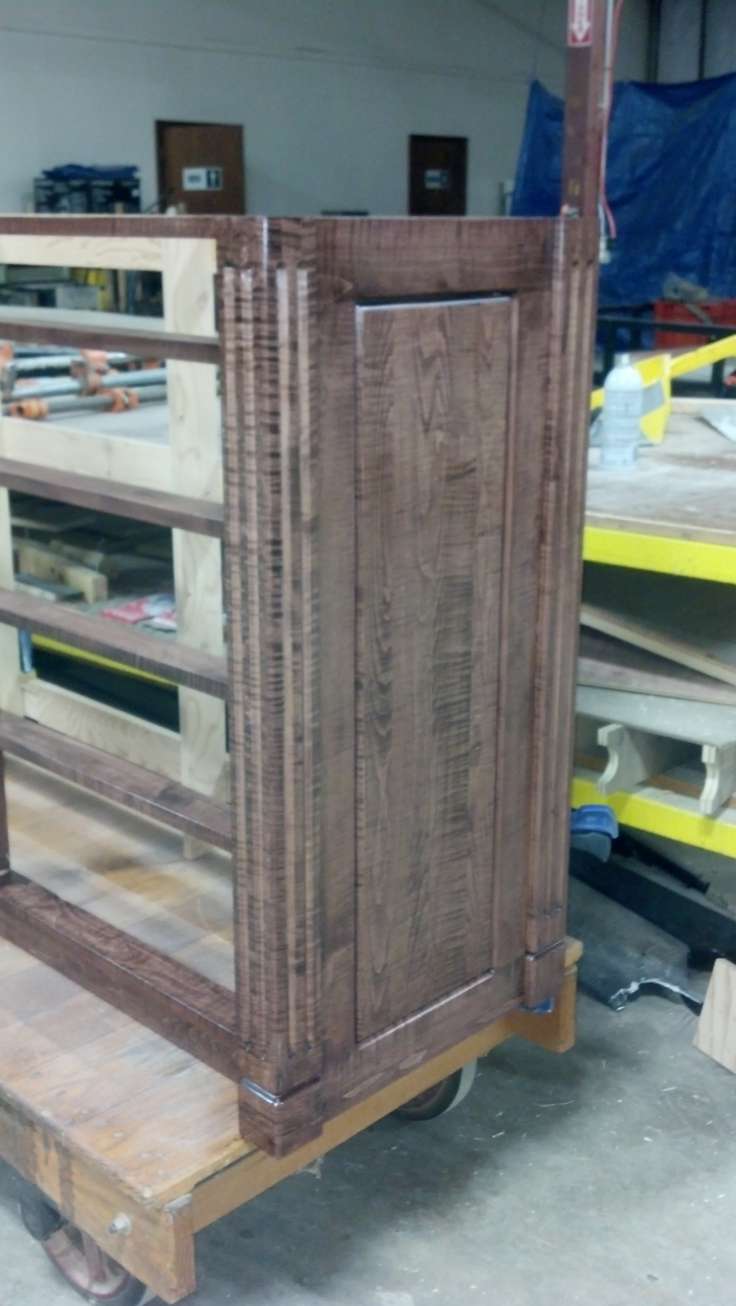
Then I cut and fit the doors for the sides. No real room for hinges, at least nothing that wouldn't show so I created pin hinges with a 1/4" alum rod. This gives the appearance that sides of the dresser are standard raised panel type design. The "V" grove design not only matches the columns, it also helps hide the gap of the door.
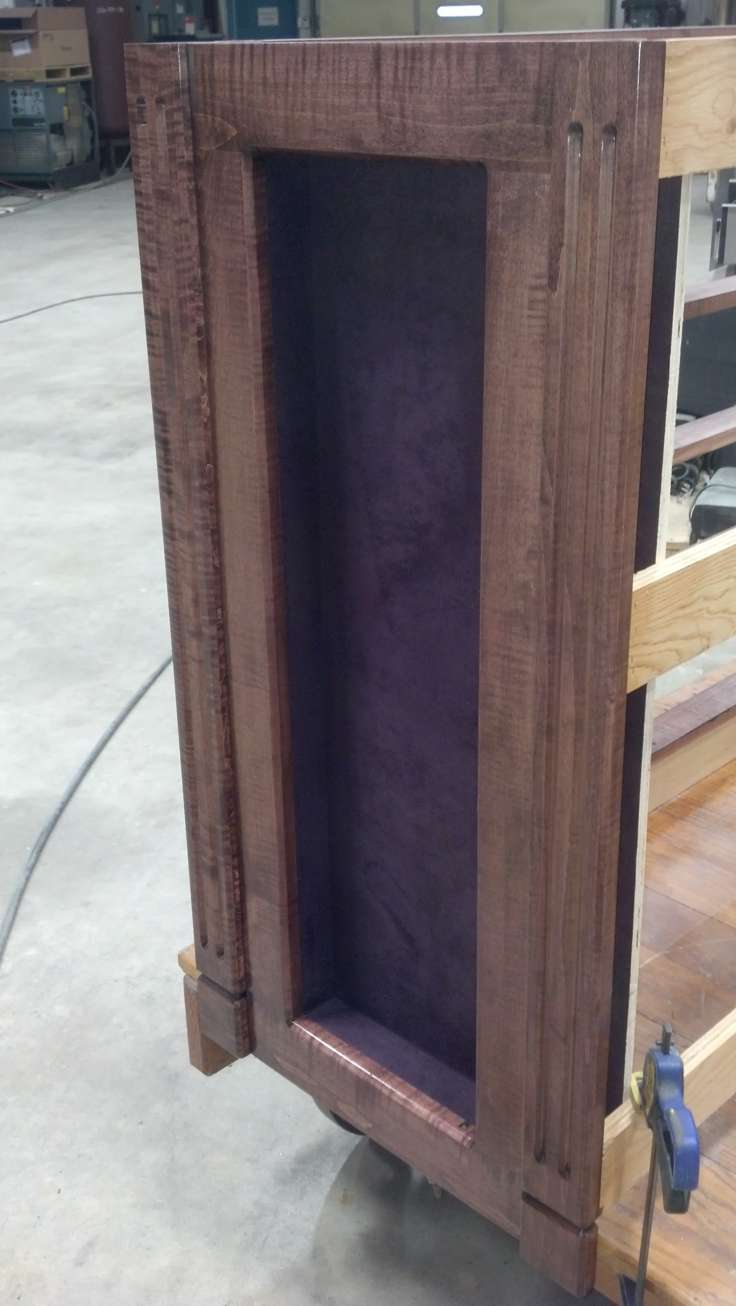
After fitting the doors I disassembled the cuby's and lined the inside with purple felt, then reassembled the side boxes.

Next it's time to install the Drawer slides and mount the drawers. Once that is done I cut and fit the drawer fronts. Being sure to mark each drawer and front so the wood grain will match up across the entire front.
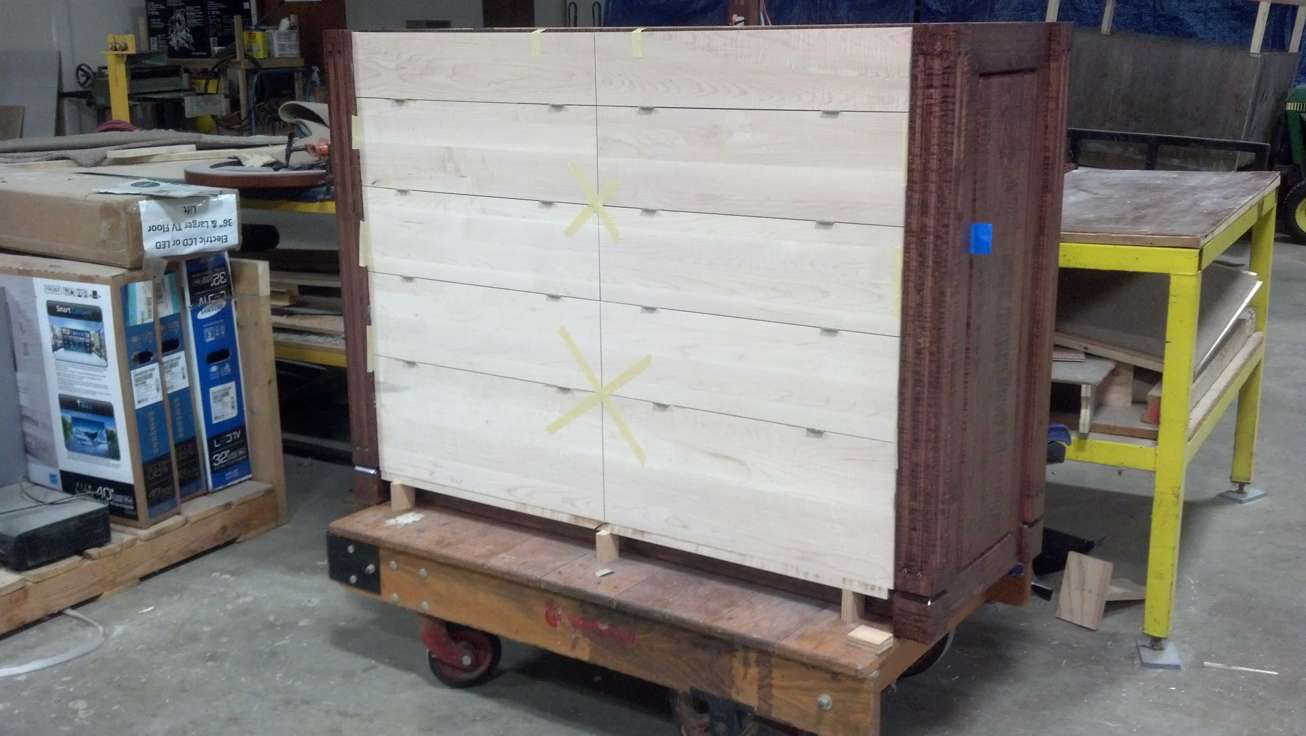
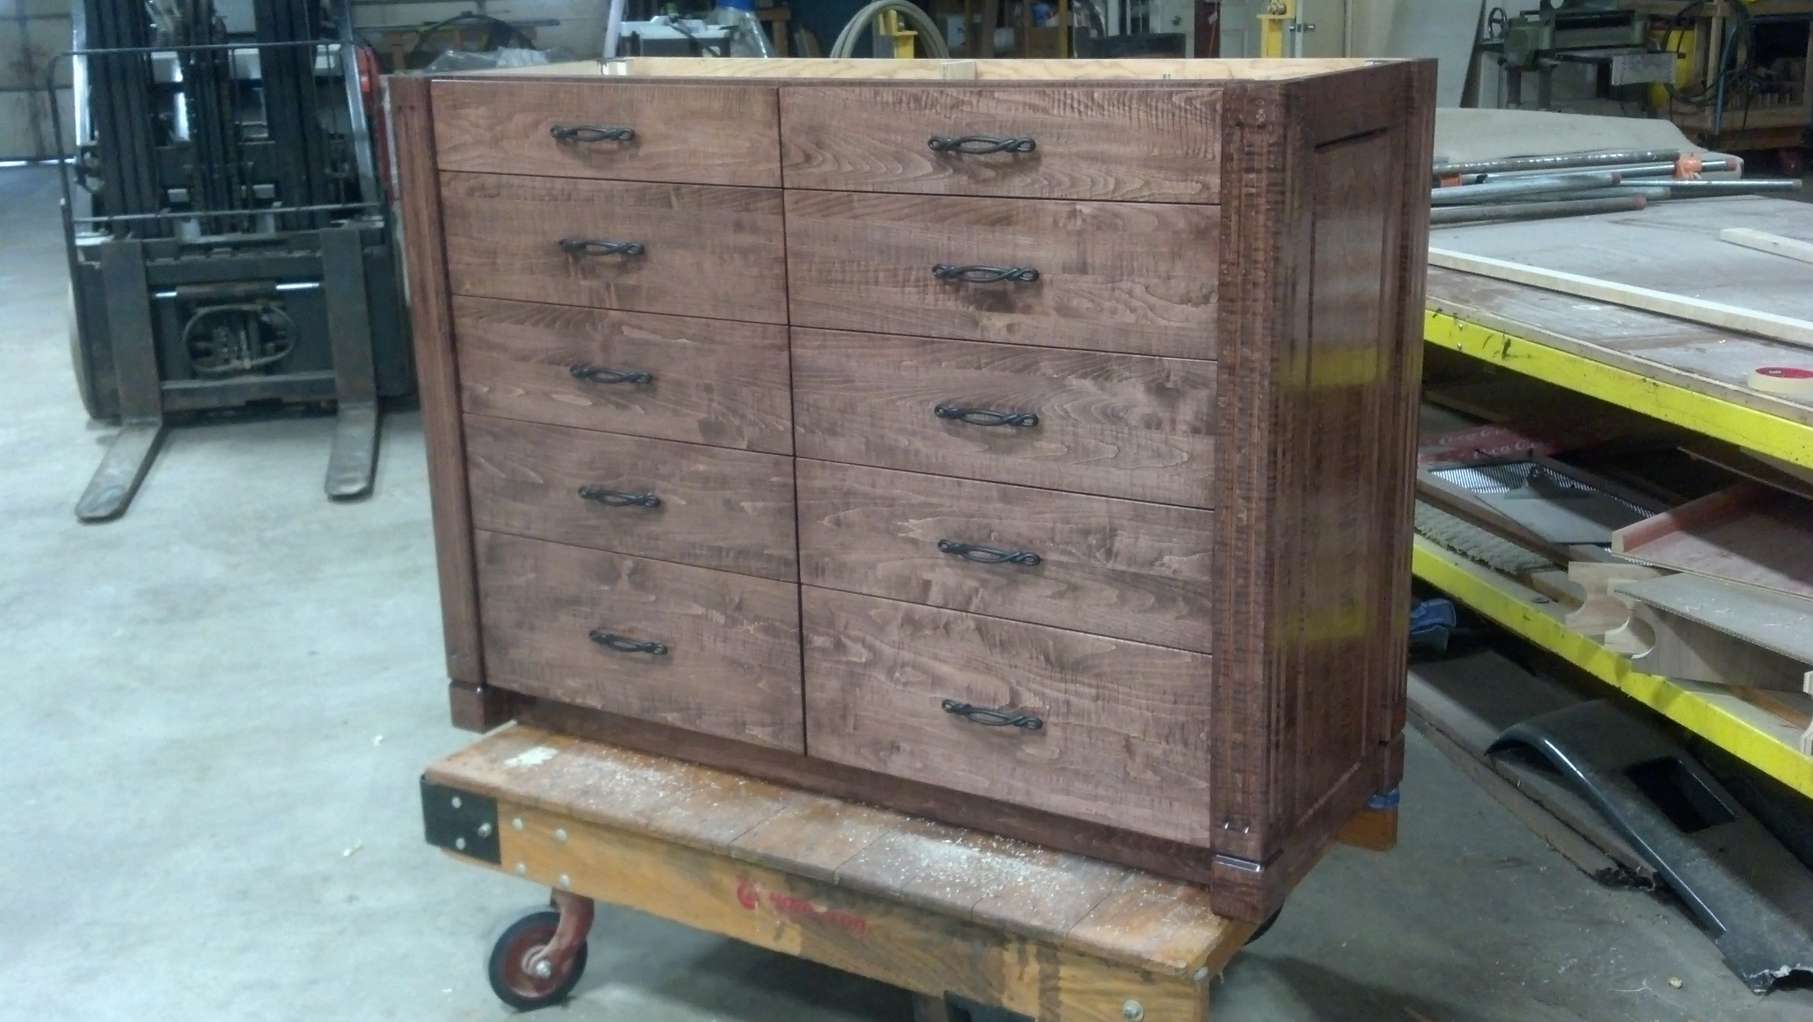
Then sand the fronts, stain and attache them to the drawer boxes, add handles and finally done.
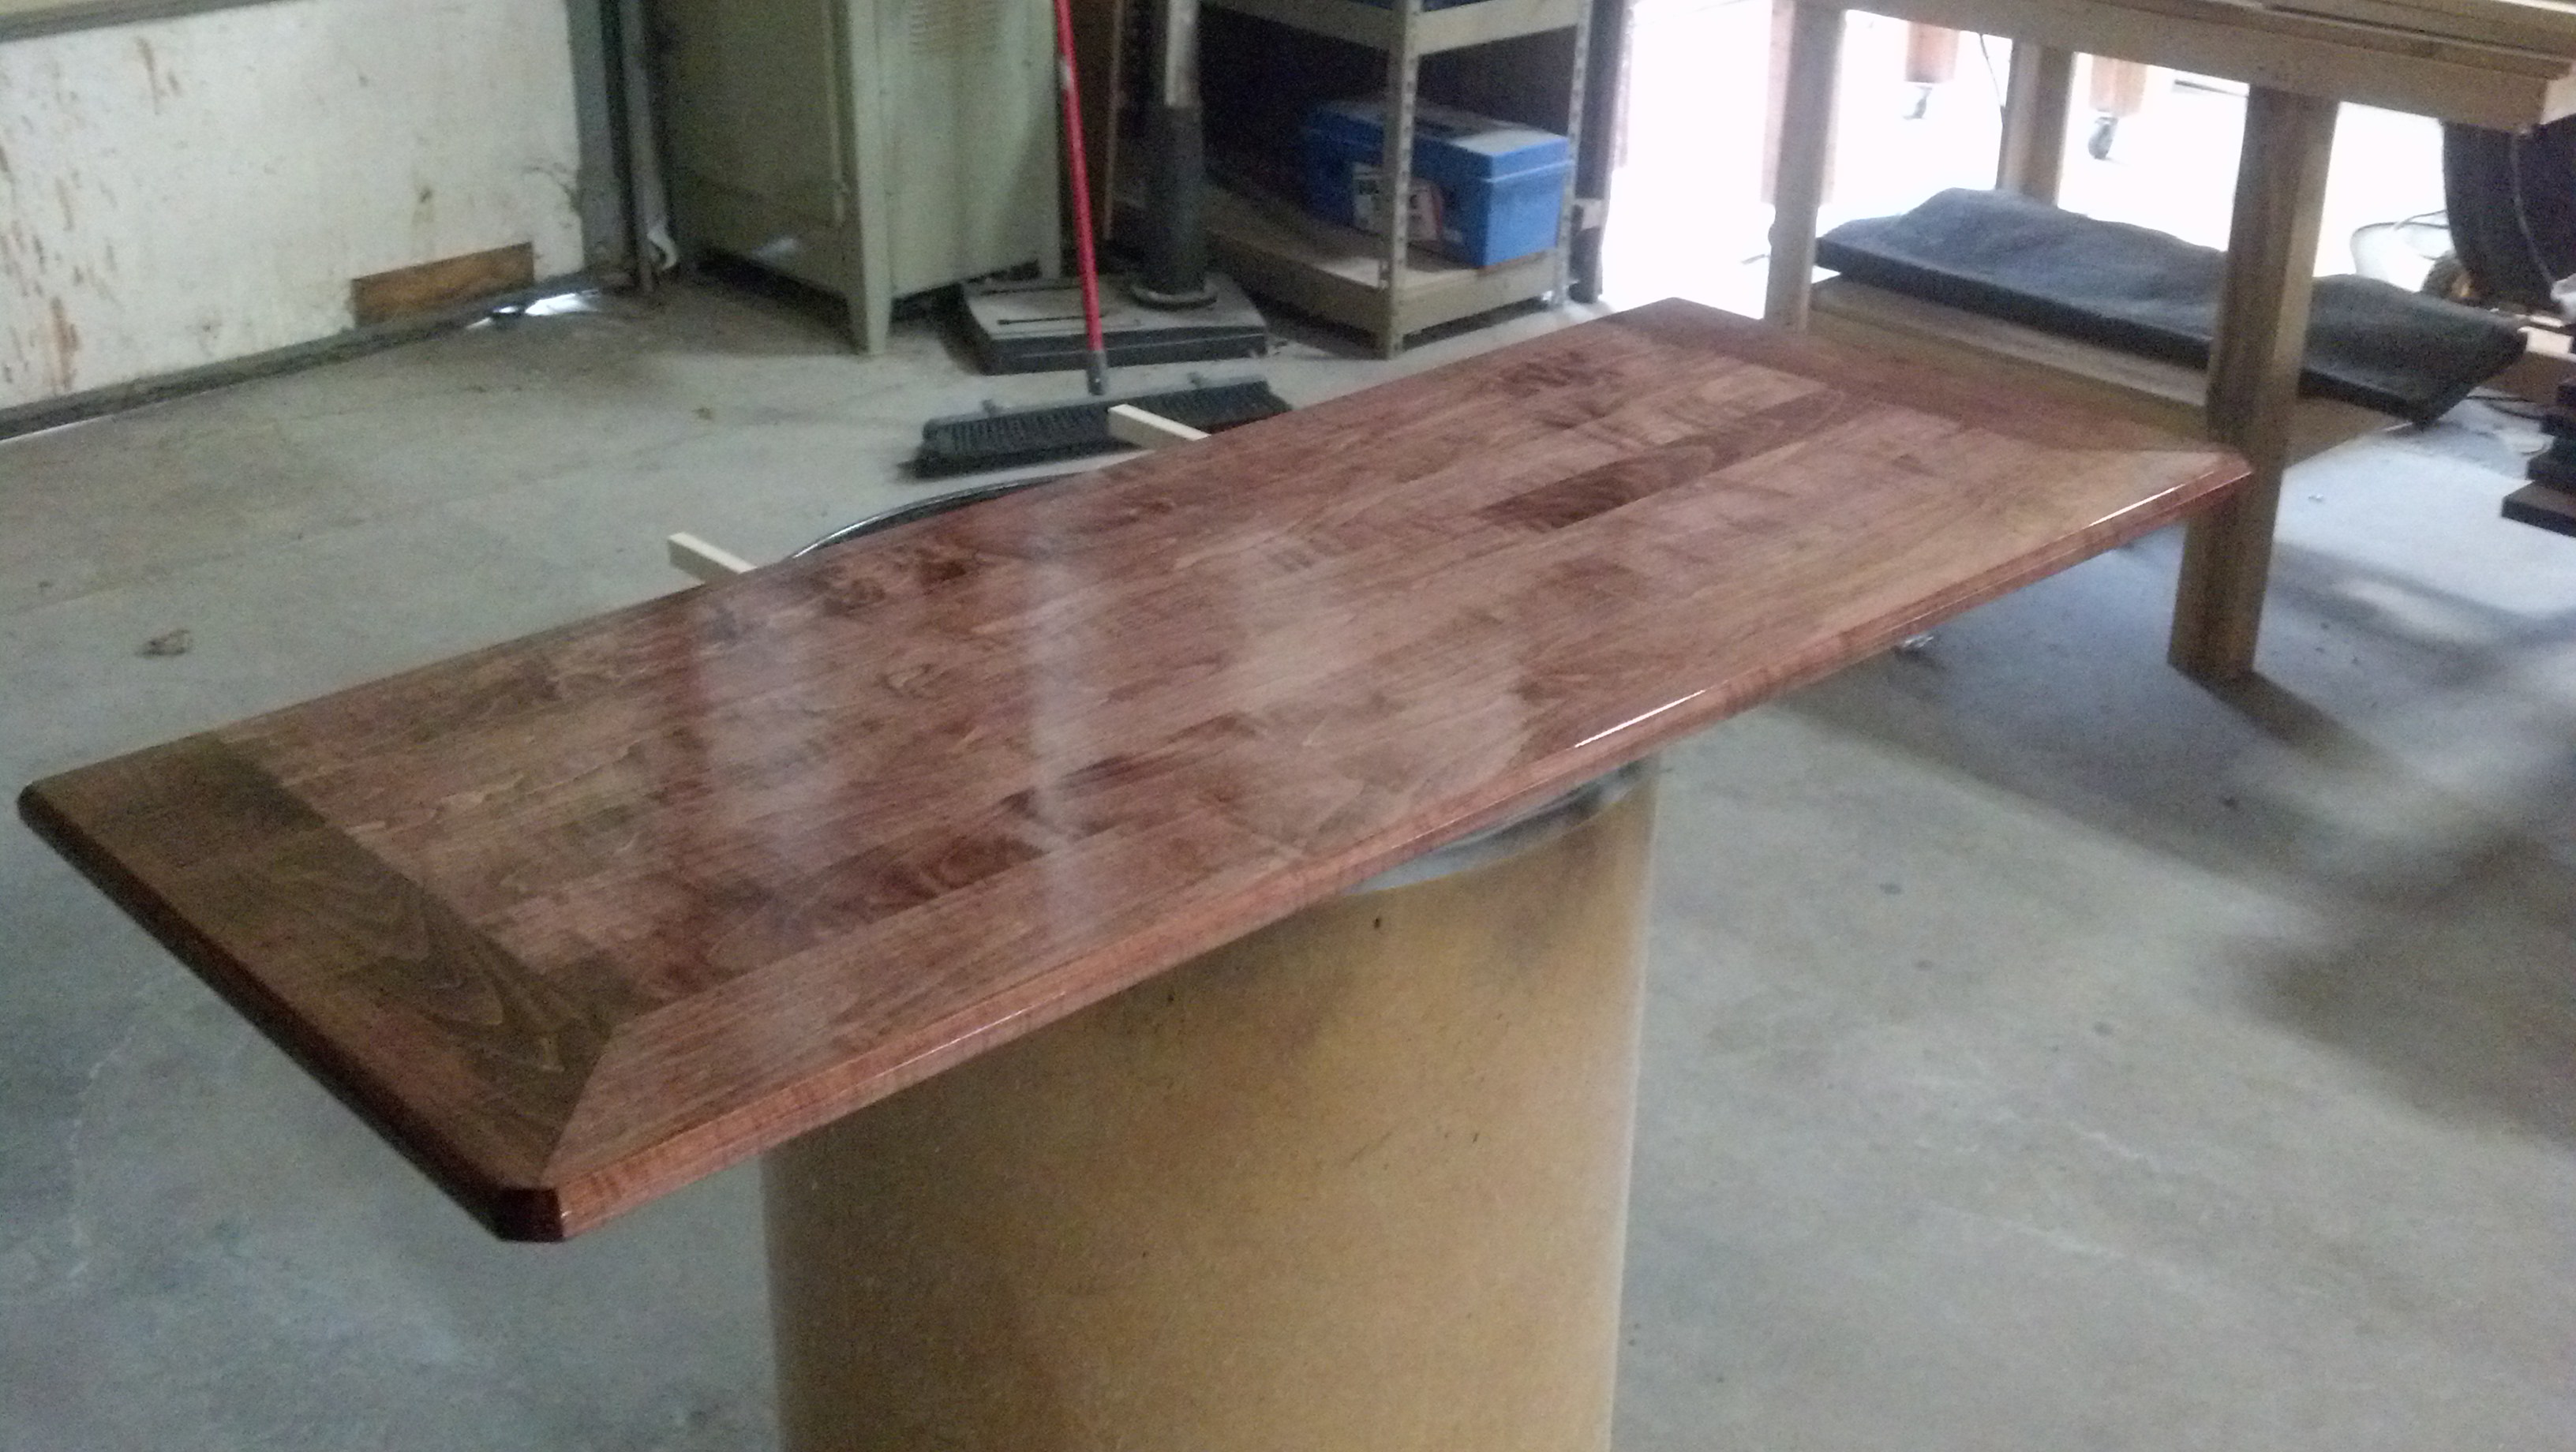
The entire job start to finish took about 30 - 35 hours (and some of that is waiting for the glue to dry). Now all that's left is to build the top.
So all said and done, about a 40 hour job. Sorry some of the pictures are kind of blurry.
Now, as my wife puts it, she has a big girl dresser now.
For the most part this is done off the cuff so to speak as there isn't any real plans for building this dresser but I put together a basic blueprint you can download here if you want to look at it.
The wood used is Curly Maple, which is a hard wood and can create some very cool looking grain, in some of the pictures you can see a bit of the tiger stripping that the grain creates. (for some detailed images)
I wanted the two front corners of the dresser to look like columns and be the anker point for the dresser. so I laminated boards up to make a 2.75" square column I would later flut.
Then I built the face frame. This also makes it easy to include a front toe kick that can be hidden from the sides of the dresser.
I laid the face frame out so it had large drawers at the bottom for big clothes like jeans, a small top drawer for "lacy" things and a large drawer for her bulky sweaters. The larger drawer at the top will have 2 drawer fronts attached so when the drawers are all closed, it looks as if there are two small top drawers, as you will see later in the pictures.
I decided to make use of the space this style creates between the dresser sides and the actual drawers. There is 1.5" of salvageable space so I created a cuby that my wife can use to hang jewelry like necklaces and other small accessories.
I will add some touch latches so the doors will spring open when pushed so there will be no visible indication that the sides even open. I forgot to take pictures at before this point, so the dresser is assembled and stained at this point.
Next I built the drawer boxes and the drawer and side door fronts. These were done by first ripping the wood to 2" - 4" Then flipping every other board so the end grain is opposite. This helps keep the planks flat and prevents cupping. The boards are then biscuit cut and edge joined, glued and clamped. This takes some planing because you don't want a biscuit in a place that will show when the boards are cut down to size.
Then I cut and fit the doors for the sides. No real room for hinges, at least nothing that wouldn't show so I created pin hinges with a 1/4" alum rod. This gives the appearance that sides of the dresser are standard raised panel type design. The "V" grove design not only matches the columns, it also helps hide the gap of the door.
After fitting the doors I disassembled the cuby's and lined the inside with purple felt, then reassembled the side boxes.
Next it's time to install the Drawer slides and mount the drawers. Once that is done I cut and fit the drawer fronts. Being sure to mark each drawer and front so the wood grain will match up across the entire front.
Then sand the fronts, stain and attache them to the drawer boxes, add handles and finally done.
The entire job start to finish took about 30 - 35 hours (and some of that is waiting for the glue to dry). Now all that's left is to build the top.
So all said and done, about a 40 hour job. Sorry some of the pictures are kind of blurry.
Now, as my wife puts it, she has a big girl dresser now.